Hello everybody, I hope you are having an amazing day today. Today, I’m gonna show you how to prepare a distinctive dish, pain de campagne-style bread with bread and cake flours - version 2. One of my favorites. For mine, I will make it a bit tasty. This is gonna smell and look delicious.
Pain de Campagne-style Bread with Bread and Cake Flours - Version 2 is one of the most favored of recent trending meals in the world. It is enjoyed by millions daily. It is simple, it’s quick, it tastes delicious. Pain de Campagne-style Bread with Bread and Cake Flours - Version 2 is something that I have loved my entire life. They’re nice and they look wonderful.
To get started with this recipe, we have to prepare a few components. You can have pain de campagne-style bread with bread and cake flours - version 2 using 8 ingredients and 14 steps. Here is how you can achieve it.
The ingredients needed to make Pain de Campagne-style Bread with Bread and Cake Flours - Version 2:
- Prepare 100 grams ◆Bread (strong) flour
- Prepare 100 grams ◆Cake flour
- Get 10 grams ◆Sugar
- Prepare 3 grams ◆Salt
- Make ready 3 grams ◆Dry yeast
- Get 130 grams ◆Lukewarm water (use cold water in the summer)
- Prepare 1 Joshinko or bread flour
- Prepare 1 Stainless steel bowl
Instructions to make Pain de Campagne-style Bread with Bread and Cake Flours - Version 2:
- Combine the bread and cake flours, and sift together twice.
- Put the ◆ ingredients in a bread machine, and start the "dough kneading" program. 6 to 7 minutes in, stop the machine, take the dough out into a bowl, and lightly round off into a ball.
- Cover the bowl with plastic wrap, and let the dough rise using your oven's "dough rising" setting at 35°C for 30 to 40 minutes. The photo shows the dough after the 1st rising is complete.
- Round off the dough, cover with plastic wrap, and leave to rest for 20 to 30 minutes. The photo shows the dough after it's rested.
- Deflate the dough, round it off into a smooth ball again, and place on a kitchen parchment paper lined baking tray. Put in a container of hot water along with the dough to encourage it to rise.
- Leave the dough to rise at 35°C for 25 to 30 minutes, until it has increased to 1.5 times its original volume (this is the 2nd rising). Start preheating the oven, with the baking tray and the stainless steel bowl, to 250°C.
- Dust the top of the loaf with joshinko or bread flour using a tea strainer. Slash the loaf about 5 mm deep using a moistened knife.
- Take the stainless steel bowl out of the oven, put the dough on the baking tray with the paper, and invert the bowl over the loaf.
- Lower the oven temperature to 210°C and bake for 20 to 25 minutes. Remove the bowl about 10 minutes into the baking time. If it looks like the loaf is browning too fast, cover with a piece of aluminium foil.
- Cool the baked loaf on a cooking rack, then store in a plastic bag to prevent it from drying out.
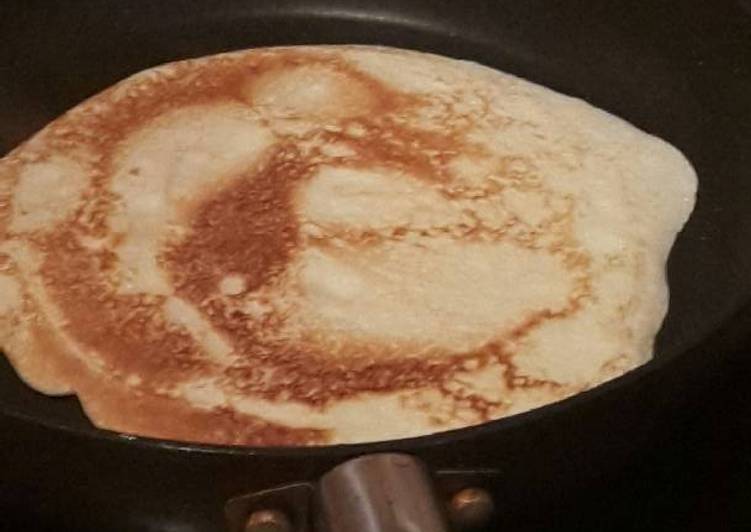
- This is how it looks slices. The crust is crispy, the crumb is soft and delicious.
- I used a 24 cm diameter, 8 cm high stainless steel bowl. This size worked fine even when the loaf rose up.
- In Step 9, if you take the bowl off 7 minutes after you start baking the bread, the scored sections will open up like this.
- If this is the first time you're making a pain de campagne with a scored top, you'll succeed by using the stainless steel bowl trick!
So that is going to wrap this up for this special food pain de campagne-style bread with bread and cake flours - version 2 recipe. Thank you very much for reading. I am confident that you will make this at home. There’s gonna be interesting food in home recipes coming up. Remember to bookmark this page in your browser, and share it to your loved ones, colleague and friends. Thank you for reading. Go on get cooking!